About Aisol Size Guide
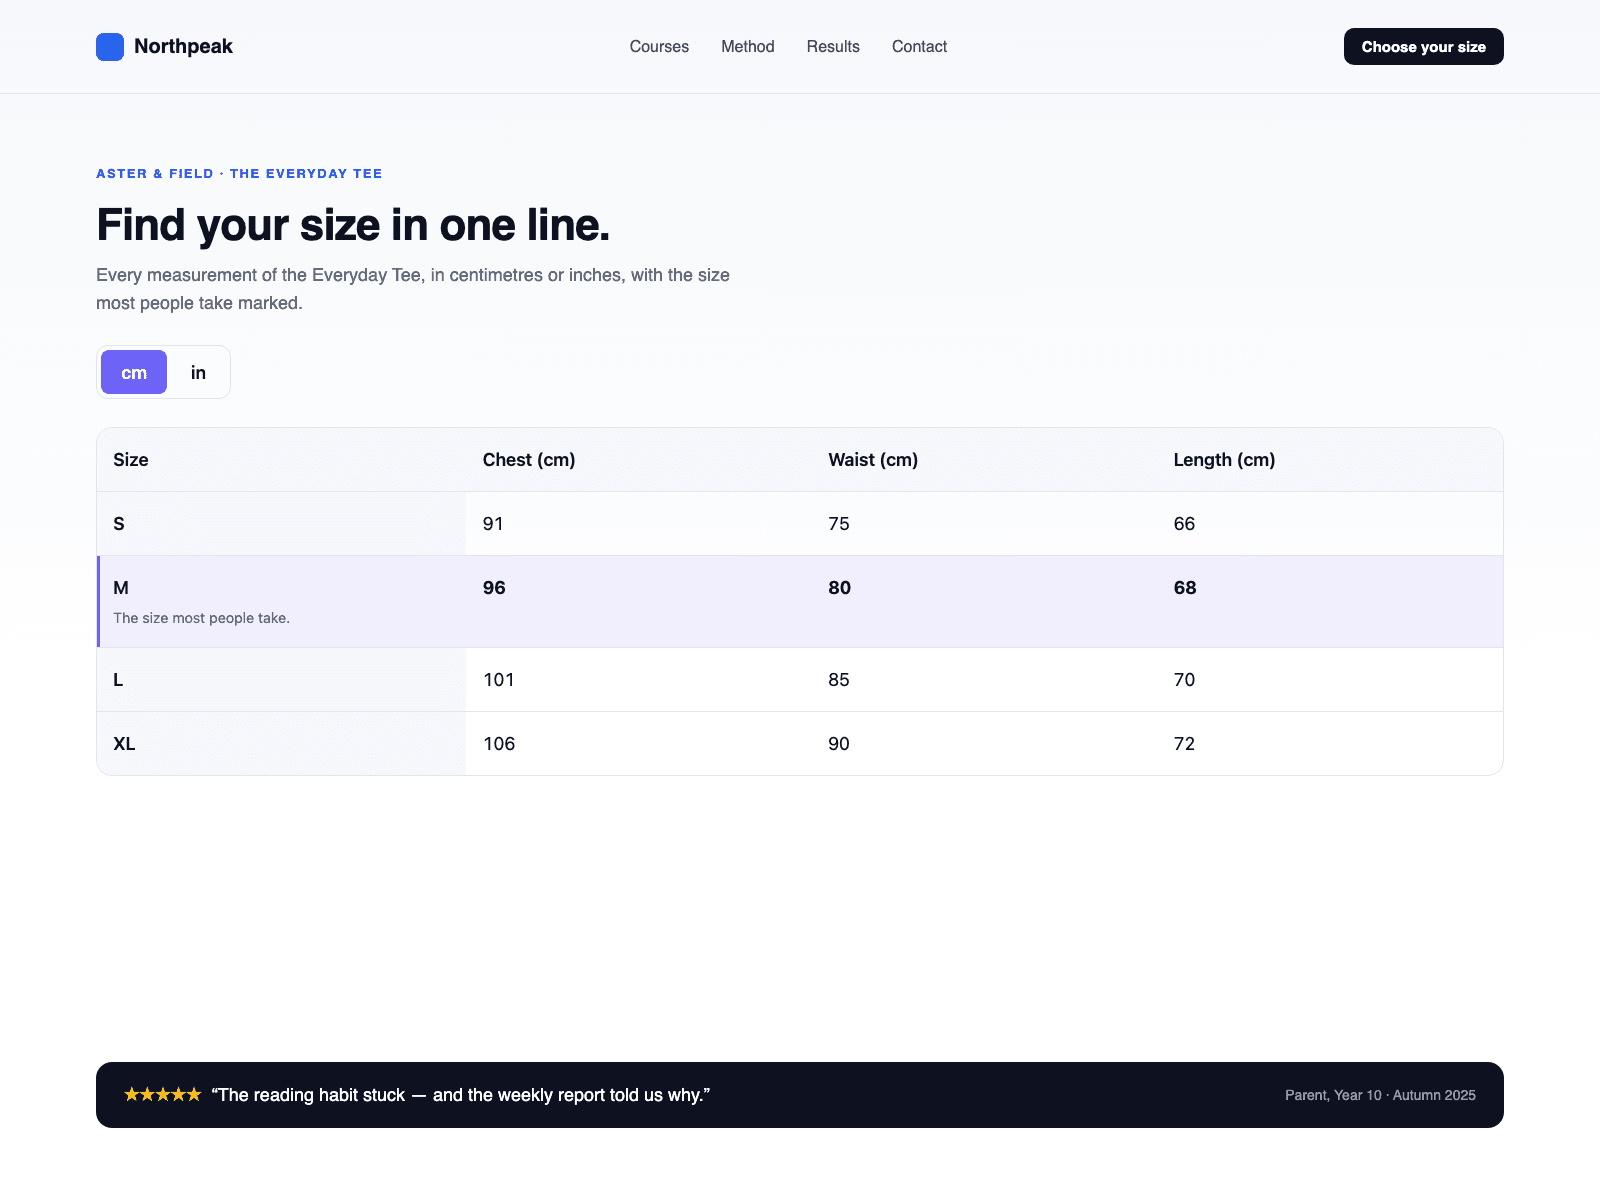
Build a size chart from a CMS collection in three steps. Drop a Collection List into the Rows (CMS) slot and turn off its Pagination so every size row is read. Inside the item, name one text layer Size (for example M) and one Values (the measurements in column order, such as 96, 80, 60), plus an optional Note. Type column names in Columns (Chest, Waist, Hips) and publish: every CMS item becomes one row of the table.
The component reads your Collection List and draws its own table; the original list stays hidden and is never changed, and a Load more button inside it is hidden. Initial count shows only the first N rows from the Collection List with a Show more button that reveals N more per click; 0 shows all.
The cm / in switch works on CMS rows too. Numbers and ranges such as 86-90 convert to inches with one decimal; anything else stays as written. To keep a column like EU size from converting, add a Measurements item with the same name and turn Converts off. With decimal commas, separate values with semicolons. You can also give each column its own layer named like the column. Layer names can be changed in the panel.
No CMS yet? Leave the slot empty and type Sizes and Measurements in the panel.
A real table with caption and headers; on phones, one card per size. Highlight a size by name and add measuring notes with a diagram. Diagram links must use https. The canvas shows the Collection List as it is; the chart appears in Preview and on the published site.